Imagine this scenario: you pour a delicious smoothie into your Blender Bottle, eagerly anticipating the first sip, but as you go to twist the lid shut, you notice a small leak. Frustration sets in, as you realize your perfectly blended concoction could end up spilling all over your bag or gym locker. But fear not, as there is a solution to this common problem. In this article, we will explore the various steps and tips on how to fix a leaking Blender Bottle lid, so you can enjoy your favorite drinks without any unwanted mess.
Review contents
Identify the Cause of the Leak
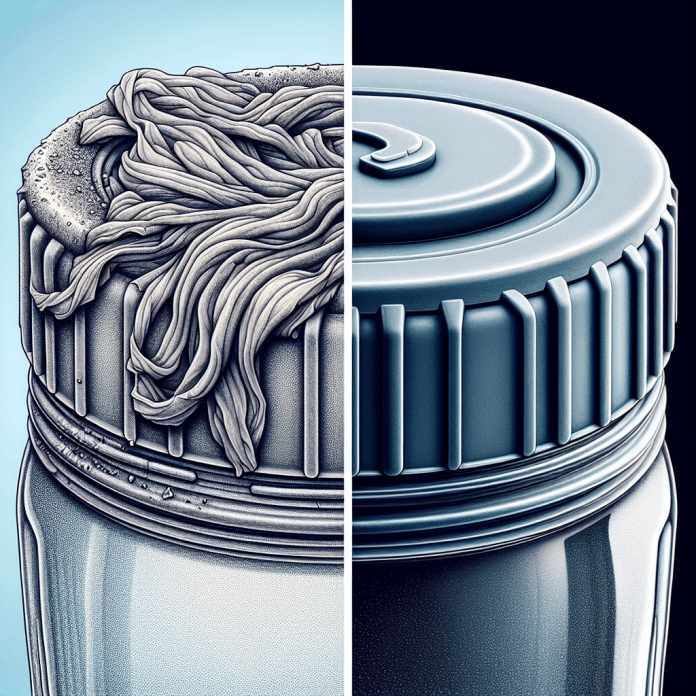
If you find yourself dealing with a leaking Blender Bottle lid, the first step is to identify the cause of the leak. There are several potential culprits that could be contributing to the issue. Start by checking for any cracks or damage in the bottle itself. Even a small crack can lead to a leak, so it’s crucial to thoroughly inspect the bottle for any signs of damage.
Next, take a closer look at the gasket. The gasket is a small rubber or silicone ring that creates a seal between the lid and the bottle. Over time, the gasket may become worn or misaligned, causing leaks to occur. Examine the gasket carefully to see if it is in good condition and properly in place.
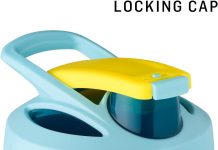
Lastly, examine the cap and spout. The cap is the part of the lid that screws onto the bottle, while the spout is the area where the liquid flows out. Check for any cracks, loose parts, or misalignment that could lead to leaks. It’s important to thoroughly investigate each of these potential causes in order to determine the best course of action for fixing the leak.
Clean the Blender Bottle and Lid
Before attempting any repairs, it’s essential to clean the Blender Bottle and lid thoroughly. Start by removing any liquid or debris that may be stuck in the bottle or lid. You can simply pour out any remaining liquid and use a cloth or paper towel to wipe away any residue.
Next, wash the bottle and lid with warm, soapy water. Use a gentle detergent or dish soap to ensure that all dirt and grime are removed. Pay special attention to the lid, where the gasket is located, as this is often the area where leaks occur. Use a brush or toothpick to clean out any small crevices or hard-to-reach areas. Rinse the bottle and lid thoroughly to remove any soap residue.
Replace the Gasket
If you have determined that the gasket is the cause of the leak, it may be necessary to replace it. Purchase a new gasket from the manufacturer or a trusted retailer that sells Blender Bottle replacement parts. Make sure to select the correct size and type of gasket for your specific bottle model.
To replace the gasket, first, remove the old one carefully. Depending on the design of your Blender Bottle lid, the gasket may be easily removable or it may require a bit of effort to take out. Use your fingers or a small tool like a toothpick to gently lift the old gasket from its position.
Once the old gasket is removed, insert the new gasket into its place. Ensure that it is properly aligned and fully seated in the groove provided. Take care not to stretch or tear the gasket during installation. Once the new gasket is in place, give it a gentle press to ensure a snug fit.
Tighten the Lid Correctly
Properly tightening the lid is crucial to prevent leaks. Begin by aligning the lid with the bottle properly. The cap should align with the spout and screw threads, ensuring a secure fit. Take your time to ensure that the lid is positioned correctly before attempting to twist it tight.
Once aligned, twist the lid tightly onto the bottle. Apply enough pressure to create a strong, watertight seal. It’s important not to overtighten the lid, as this can cause the bottle or lid to become damaged. Find the balance between a snug fit and excessive force.
After tightening the lid, it’s essential to test for any remaining leaks. Fill the Blender Bottle with water or another liquid, close the lid, and give it a gentle shake. Look for any signs of leakage around the gasket, cap, or spout. If you notice any leaks, repeat the tightening process and test again until the bottle is perfectly sealed.
Apply Lubrication to the Gasket
Sometimes the gasket may become dry or worn, leading to leaks. Applying a thin layer of food-grade lubricant can help restore the gasket’s effectiveness and prevent further leaks. Make sure to use a lubricant that is safe for contact with food and beverages.
To apply the lubricant, start by removing the gasket from the lid. Carefully lift it out and set it aside. Apply a small amount of lubricant to your fingers or a cloth, and then gently rub it onto the gasket. Make sure to cover the entire surface of the gasket with a thin, even layer of lubricant.
Once the gasket is lubricated, reinstall it onto the lid. Ensure that it is properly seated in the groove. Give it a gentle press to ensure a secure fit. The lubricant will help create a better seal between the gasket and the bottle, reducing the likelihood of leaks.
Adjust the Spout Position
In some cases, the spout may be the source of the leak. If the spout is misaligned or not properly locked in place, it can allow liquid to escape. Adjusting the spout position can help solve this problem.
To adjust the spout, start by turning it counterclockwise until it unlocks. Once unlocked, you should be able to adjust the position of the spout. Make sure it is properly aligned with the cap and bottle. Once aligned, lock the spout back into place by turning it clockwise.
After adjusting the spout, it’s important to check for leaks. Fill the bottle with liquid, close the lid, and give it a gentle shake. Look for any signs of leakage around the spout area. If leaks persist, continue adjusting the spout position until the issue is resolved.
Try a Different Lid
If all else fails and the leak continues, it may be worth trying a different lid. If you have a spare lid for your Blender Bottle, give it a try to see if it resolves the issue. Alternatively, if you have a similar bottle from another brand or model, you can borrow its lid temporarily to test if it fits and solves the leak problem.
Using a different lid can help determine if the issue lies specifically with the lid itself or if there is a different underlying problem with the bottle. By testing with a different lid, you can narrow down the cause of the leak and further troubleshoot the issue.
Contact Blender Bottle Customer Support
If you’ve exhausted all your options and the leak persists, it may be time to reach out to Blender Bottle customer support. Check the packaging or the manufacturer’s website for warranty information. If your Blender Bottle is still under warranty, follow the instructions provided to contact customer support for assistance.
When contacting customer support, be prepared to provide details about the issue and any troubleshooting steps you’ve already taken. They may be able to offer further guidance on how to resolve the leak or provide a replacement lid if necessary. Following their instructions and recommendations can help you effectively address the problem.
Consider a Replacement Lid
If your Blender Bottle is no longer under warranty or customer support is unable to resolve the leak issue, it may be necessary to consider purchasing a replacement lid. Look for compatible replacement lids that are specifically designed for your Blender Bottle model.
While looking for replacement lids, take the time to compare features and read reviews from other customers. Look for lids that have a reputation for being leak-proof and durable. Opt for a new lid that fits your needs and preferences, ensuring a better experience with your Blender Bottle going forward.
Prevent Future Leaks
Once you’ve successfully resolved the leak issue, it’s important to take steps to prevent future leaks from occurring. By following these simple tips, you can extend the life of your Blender Bottle and maintain its functionality:
- Avoid overfilling the bottle, as excessive liquid can put pressure on the lid and gasket.
- Gently open and close the lid to avoid putting unnecessary strain on the seal.
- Regularly inspect and clean the lid to remove any debris or buildup that could compromise the seal.
By incorporating these preventative measures into your routine, you can minimize the chances of experiencing leaks in the future and continue enjoying the convenience and functionality of your Blender Bottle.

