Cleaning a blender may seem like a mundane task, but ensuring it is done properly is essential for maintaining its performance and longevity. In this article, we will share some easy and effective tips on how to clean a blender thoroughly. From disassembling and soaking the parts to using the right cleaning agents, we have got you covered. So, let’s dive into the world of blender cleaning and discover the secrets to keeping your blender in pristine condition!
Review contents
How Do You Clean A Blender Properly?
Cleaning a blender can be a daunting task if you’re not sure where to start. But fear not, we’re here to guide you through the process. In this article, we will provide you with a comprehensive step-by-step guide on how to clean a blender properly. So, grab your cleaning supplies and let’s get started!
Prepare the Blender for Cleaning
Before diving into the cleaning process, it’s important to ensure the safety of both yourself and the blender. Begin by unplugging the blender to avoid any accidental activations. Next, carefully remove the blender jar from the base and discard any leftover contents. It’s always a good idea to rinse the jar with warm water to remove any loose debris. It’s important to note that you should never immerse the blender base in water or any other liquids, as this could damage the electrical components.
Disassemble the Blender
To thoroughly clean every nook and cranny of your blender, you’ll need to disassemble its various components. Start by removing the blender lid. Depending on the type of blender you have, the lid may simply lift off or require twisting. Once removed, set it aside for cleaning later. Next, carefully remove the blender blade assembly. Take caution as these blades can be sharp. To do this, grip the blade assembly firmly and twist it counterclockwise. After removal, inspect the blade assembly for any signs of damage or wear and tear.
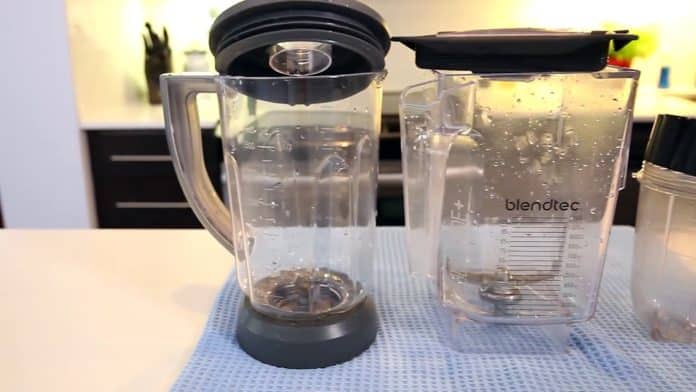
This image is property of cdn.apartmenttherapy.info.
Clean the Blender Jar
Now that the blender is disassembled, it’s time to clean the blender jar. Fill the jar halfway with warm water and add a few drops of mild dish soap. Using a soft sponge or brush, scrub the interior of the jar thoroughly, paying special attention to any residue or staining. If there are any stubborn stains, you can also use a mixture of baking soda and water to create a paste and scour them away. Once clean, rinse the jar thoroughly with warm water to remove any soap residue.
Clean the Blender Blades
Cleaning blender blades can be tricky due to their sharpness, so always proceed with caution. After removing the blade assembly, carefully rinse it under warm water to remove any excess food particles. Next, use a small brush, such as a toothbrush, to gently scrub the blades and remove any remaining residue. If the blades are particularly greasy or sticky, you can also soak them in warm, soapy water for a few minutes before scrubbing. Once clean, rinse the blade assembly thoroughly and set it aside to dry.
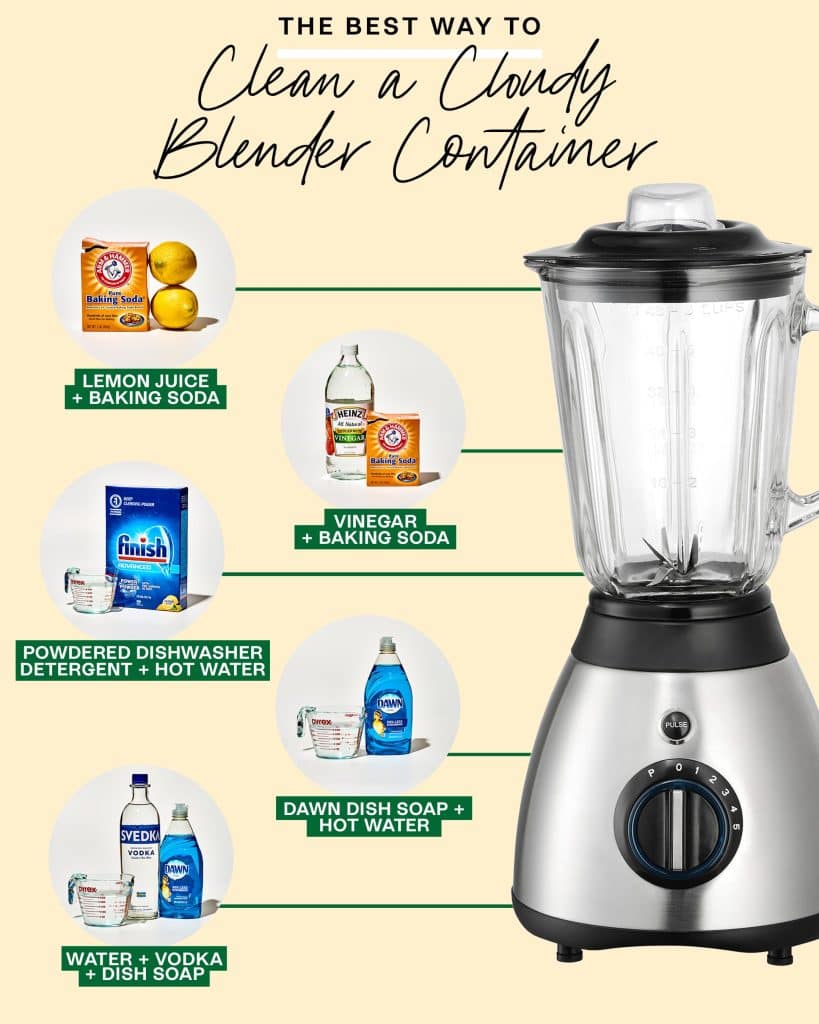
This image is property of i.insider.com.
Clean the Blender Lid
The blender lid is often overlooked, but it’s just as important to keep it clean as the rest of the blender. Start by rinsing the lid under warm water to remove any loose debris. If the lid is dishwasher-safe, place it in the top rack of your dishwasher. If not, fill a sink or basin with warm, soapy water and gently scrub the lid with a sponge or brush. Pay extra attention to the areas around the sealing gasket and any crevices where food particles may accumulate. Rinse the lid thoroughly and set it aside to dry.
Clean the Blender Base
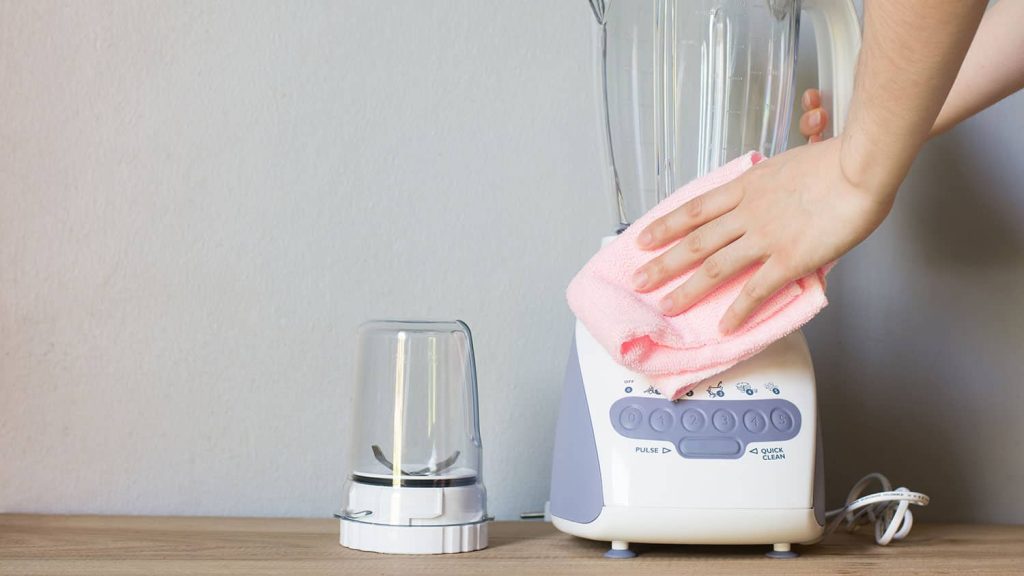
While the blender base does not typically come into direct contact with food, it can still accumulate dust and grime over time. To clean the base, start by unplugging it from the power source. Dampen a clean cloth or sponge with warm, soapy water and gently wipe down the base, paying attention to any visible dirt or stains. Be sure to avoid getting excessive water near the electrical components. Once wiped down, use a dry cloth to remove any excess moisture.
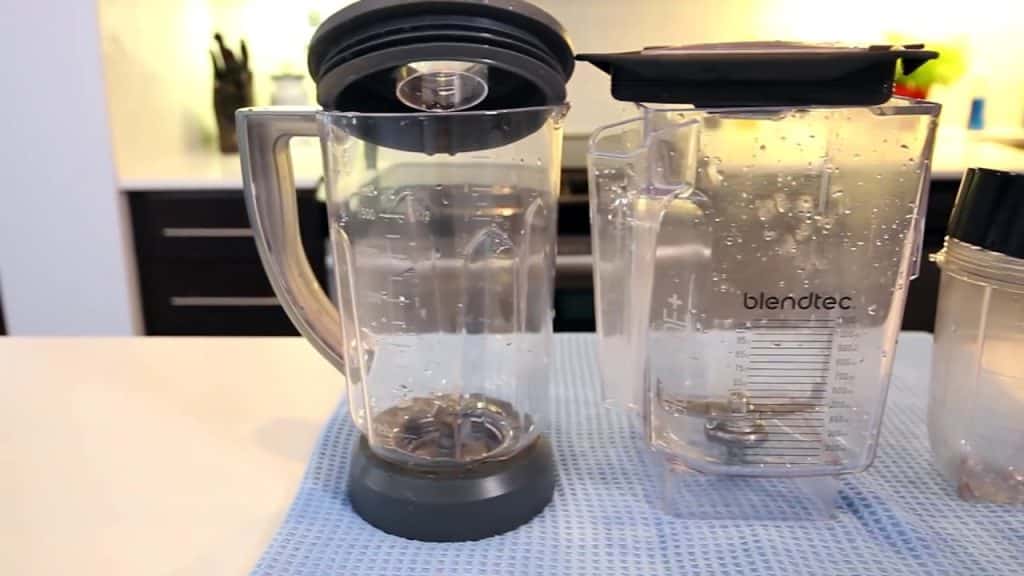
This image is property of i.ytimg.com.
Clean the Blender Gasket
The blender gasket, also known as the sealing ring, is an essential component that ensures a tight seal between the blender jar and the base. Over time, the gasket can accumulate food particles and residue, leading to unpleasant odors or even mold growth. To clean the gasket, carefully remove it from the blender jar. Rinse it under warm water, gently rubbing to remove any debris. If necessary, you can also soak the gasket in warm, soapy water for a few minutes. Once clean, rinse the gasket thoroughly and allow it to air dry completely before reassembling the blender.
Remove Tough Stains or Food Residue
If you’re dealing with tough stains or stubborn food residue, there are a few additional steps you can take to ensure your blender is spotless. For tough stains on the blender jar, create a mixture of equal parts baking soda and water to form a paste. Apply the paste to the stained areas and let it sit for a few minutes before scrubbing with a sponge or brush. This natural abrasive will help break down the stains and make them easier to remove.
For stubborn food residue, especially if it has dried onto the blades or base, you can use a mixture of vinegar and water. Fill the blender jar halfway with equal parts vinegar and water and let it sit for about 15-30 minutes. The acidity of the vinegar will help loosen the residue, making it easier to scrub away. After soaking, scrub the blades and base with a sponge or brush, then rinse thoroughly with warm water.
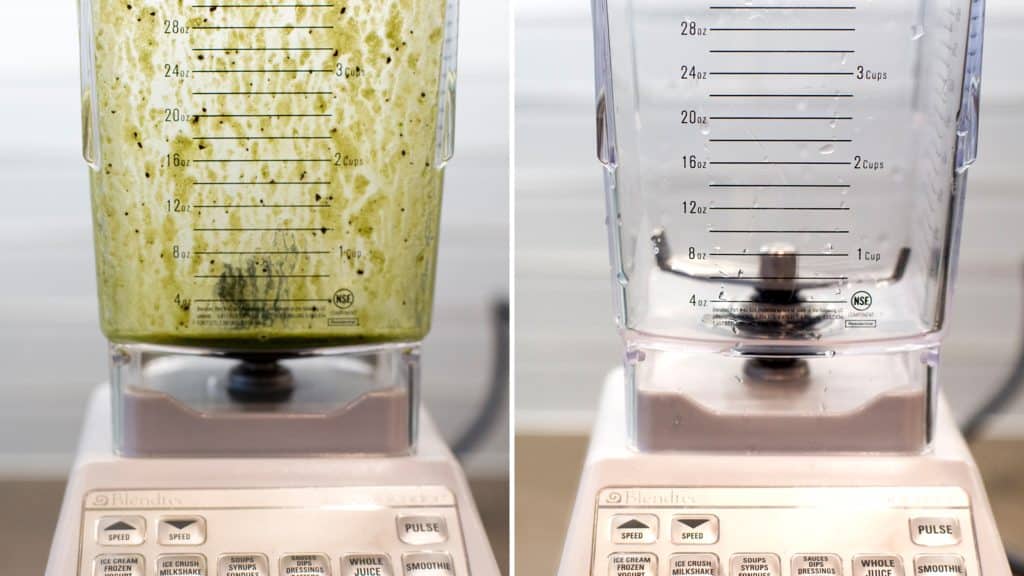
This image is property of media-cldnry.s-nbcnews.com.
Dry and Reassemble the Blender
Once all the components of your blender are clean, it’s important to ensure they are thoroughly dry before reassembling. Start by drying the blender jar, lid, and gasket with a clean towel or leave them on a drying rack to air dry. To dry the blade assembly, carefully pat it dry with a towel, paying close attention to the sharp edges. Before reassembling the blender, check that all the components are fully dry to prevent any moisture-related issues or mold growth.
To reassemble the blender, start by placing the clean gasket onto the blender base. Next, carefully align the blade assembly with the base and twist it clockwise until it locks into place. Finally, secure the blender jar onto the base by twisting it clockwise. Give it a gentle tug to ensure it is firmly attached.
Maintaining the Blender
Now that your blender is sparkling clean, it’s important to maintain its cleanliness for optimal performance and longevity. After each use, rinse the blender jar and lid with warm water to remove any food residue. If possible, clean the components immediately to prevent any staining or buildup. Regularly inspect the blades for any signs of damage or rust and replace as needed. Additionally, be mindful of the blender base and wipe it down regularly to prevent dust or grime buildup.
In conclusion, cleaning a blender properly is a straightforward process that ensures your appliance remains in top condition. By following these steps, you can enjoy a clean and hygienic blender that is ready to tackle your favorite recipes whenever you need it. So, don’t let cleaning your blender intimidate you – grab your cleaning supplies and get started on maintaining your trusty kitchen companion!
This image is property of media.angi.com.

